
SEO Meta Description:
Explore six creative ombre nail art ideas that will elevate your manicure game. Learn how to achieve stunning gradient designs and make your nails the center of attention. Get inspired with step-by-step instructions and expert tips.
Introduction
Nail art has become a captivating form of self-expression, and one of the most eye-catching trends in recent years is ombre nail art. This technique involves blending two or more colors seamlessly to create a beautiful gradient effect on your nails. In this article, we’ll explore six creative ombre nail art ideas that will help you achieve stunning manicures. Whether you’re a nail art enthusiast or a newbie, these designs are sure to make your nails the center of attention.
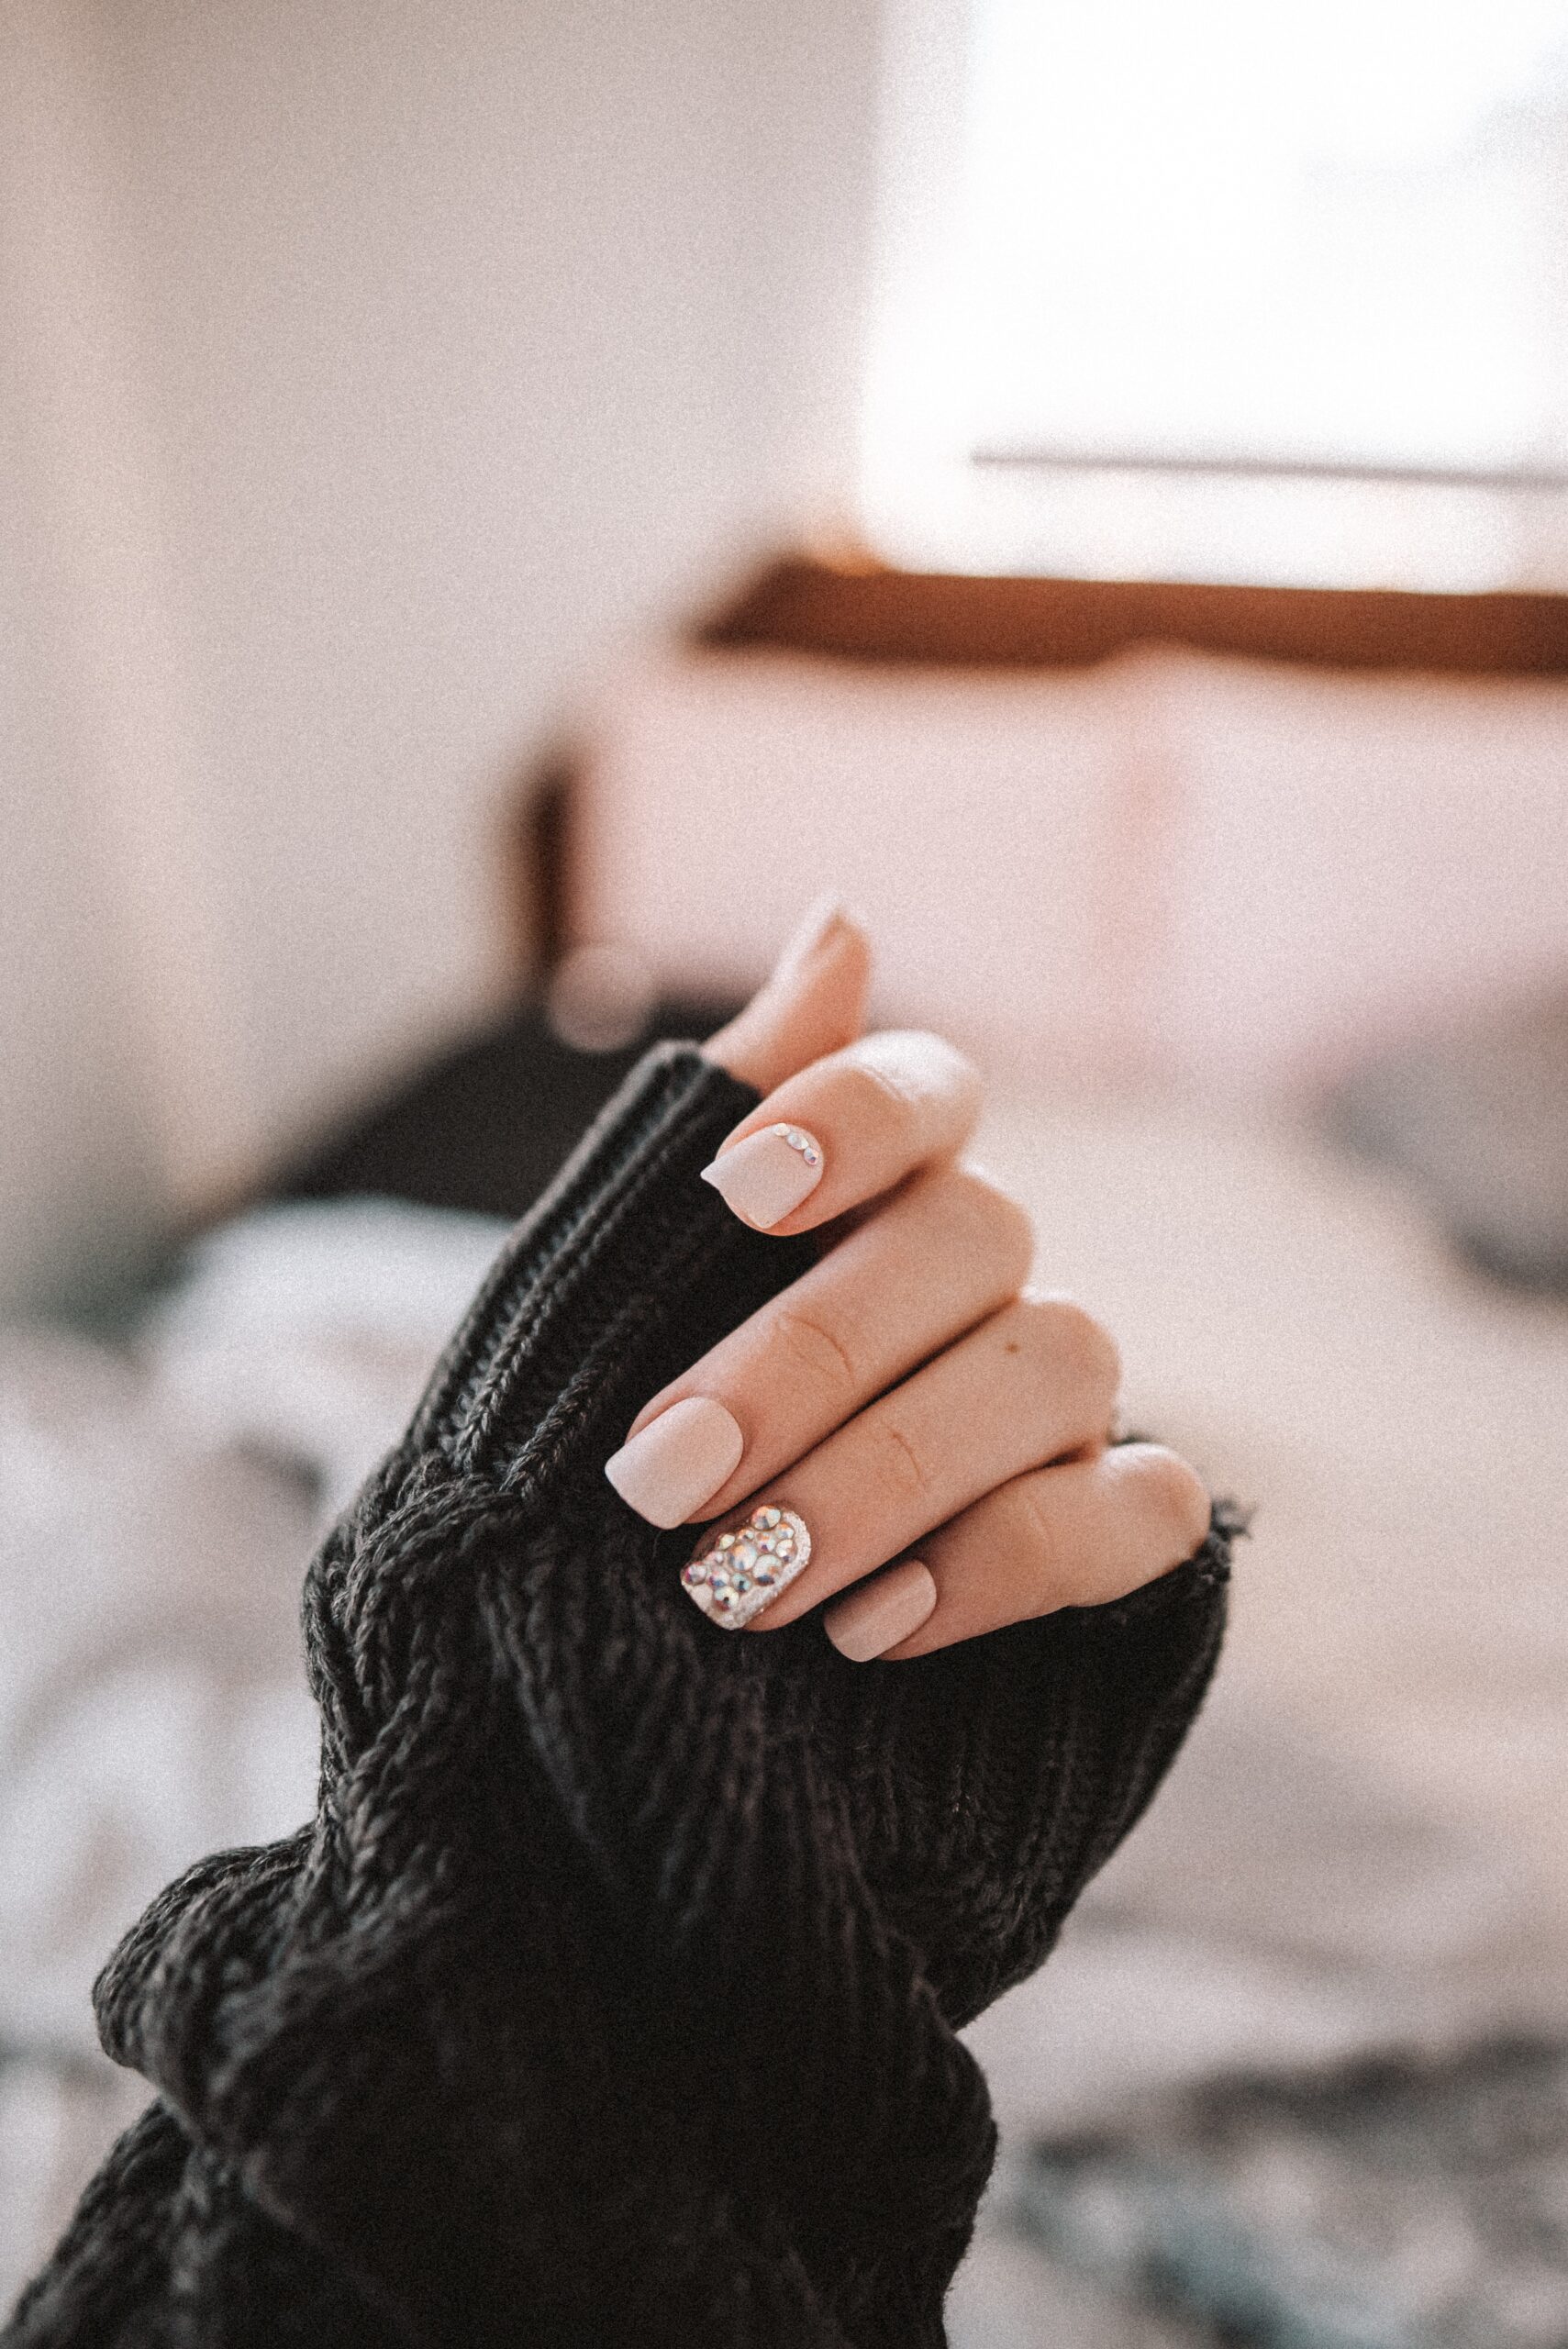
The Elegance of Ombre Nail Art
Understanding Ombre
Ombre, derived from the French word “shaded,” is a nail art technique that transitions colors from light to dark or vice versa. It’s a versatile style that can be as subtle or bold as you desire.
The Versatility of Ombre
Ombre nail art offers endless possibilities. You can experiment with various color combinations, from soft pastels to vibrant neons, to match any occasion or mood.
The Top 6 Creative Ombre Nail Art Ideas
1. Classic Ombre
Materials:
- Two nail polish colors of your choice
- A makeup sponge
- Clear topcoat
Instructions:
- Apply the lighter nail polish color as the base coat and let it dry.
- Pour a small amount of each color on a disposable surface.
- Dab the makeup sponge into both colors and gently press it onto your nails, starting from the base and moving towards the tip.
- Repeat the process until you achieve the desired ombre effect.
- Finish with a clear topcoat for a glossy finish.
2. Sunset Ombre
Materials:
- Yellow, orange, and pink nail polish
- A makeup sponge
- Clear topcoat
Instructions:
- Apply the yellow nail polish as the base coat and let it dry.
- Using the makeup sponge, blend the orange and pink polishes to create a gradient effect.
- Dab the sponge onto your nails, starting from the base and moving upwards.
- Repeat the process until you achieve a sunset-inspired ombre.
- Finish with a clear topcoat for a vibrant finish.
3. Glitter Ombre
Materials:
- Silver and blue glitter nail polish
- A makeup sponge
- Clear topcoat
Instructions:
- Apply the silver glitter nail polish as the base coat and let it dry.
- Dab the makeup sponge into both the silver and blue glitter polishes.
- Gently press the sponge onto your nails, starting from the base and working towards the tips.
- Repeat the process to create a dazzling glitter ombre effect.
- Finish with a clear topcoat for added sparkle and protection.
4. Nude and Gold Ombre
Materials:
- Nude and gold nail polish
- A makeup sponge
- Clear topcoat
Instructions:
- Apply the nude nail polish as the base coat and let it dry.
- Dab the makeup sponge into both the nude and gold polishes.
- Press the sponge onto your nails, creating a subtle yet elegant nude and gold ombre.
- Repeat the process for a flawless finish.
- Seal the design with a clear topcoat for a polished look.
5. Pastel Rainbow Ombre
Materials:
- Pastel nail polish colors (rainbow shades)
- A makeup sponge
- Clear topcoat
Instructions:
- Apply a white base coat and let it dry.
- Dab the makeup sponge into the pastel nail polish colors, starting with red and moving through the rainbow.
- Gently press the sponge onto your nails, creating a stunning pastel rainbow ombre.
- Repeat the process to intensify the colors.
- Finish with a clear topcoat for a smooth and vibrant finish.
6. French Ombre
Materials:
- Soft pink and white nail polish
- A makeup sponge
- Clear topcoat
Instructions:
- Apply the soft pink nail polish as the base coat and let it dry.
- Dab the makeup sponge into both the pink and white polishes.
- Press the sponge onto your nails, starting from the base and moving towards the tips.
- Repeat the process for an elegant French ombre effect.
- Finish with a clear topcoat for a timeless look.
Expert Tips for Perfect Ombre Nails
- Always start with a clean and well-shaped nail.
- Use a makeup sponge to achieve a smooth gradient effect.
- Allow each layer of polish to dry completely before applying the next.
- Experiment with colors and designs to create your unique ombre style.
- Finish with a clear topcoat to protect and seal your ombre nail art.
FAQs (Frequently Asked Questions)
Can I use different color combinations for ombre nail art? Absolutely! Ombre nail art is all about creativity. You can mix and match any colors that inspire you.
Is ombre nail art suitable for short nails? Yes, ombre nail art works beautifully on short nails, and it can even